Hello Friends! It's been awhile hasn't it? And this past year has been something else for all of us. My husband and I were pretty much cut off for most of it with only the occasional outside visit with family or friends though we were so lucky to be able to spend time with our grandkids who, after the first couple of months, were part of our bubble for the duration. But it has definitely been an "interesting" time in so many ways. Plague, isolation, natural disasters, insurrection: I can see why "may you live in interesting times" is a curse! Knowing that so many people have lost loved ones in this pandemic absolutely breaks me. I hold those lives in my heart and will always do so and I will never forget that it didn't have to be this way.
But life does goes on, the pendulum swings back, and hopes for better times do seem to be finding some fruition. My husband and I have had both of our vaccinations and so has my 87 year old, still seeing patients, dad - which is a HUGE relief to me as you might imagine.
So as I try to get back to a somewhat more "normal" life I thought I would try to restart my blog with a little gift. I'm sharing a pattern for my little lavender babies. I don't make these any more to sell and I thought it might be a fun project for those of you who enjoy handwork. These are made entirely by hand, no sewing machine necessary, and are pretty easy (if somewhat time consuming) to make once you have the head done. I'll include lots of pictures and directions so it might take a few posts to get all the info but I promise to make them all in short order. So let's get started!
First you will need to make a small ( about 3.5inches in diameter) Waldorf style head. There are tons of posts online for making these heads, this just happens to be the way I do it for this type of doll. You will need:
Wool
Cotton string one piece 3" long and one 6"
A 3" piece of 5/8" tubular gauze
Cotton knit "skin" fabric (old tee shirts can work here!)
needle and thread
scissors
Pigma markers, colored pencil, white gel pen (optional) OR
Embroidery floss for the face
The first step is to tightly tie the smaller piece of string around one end of the tube and cut off the excess string. Then turn the tube inside out.
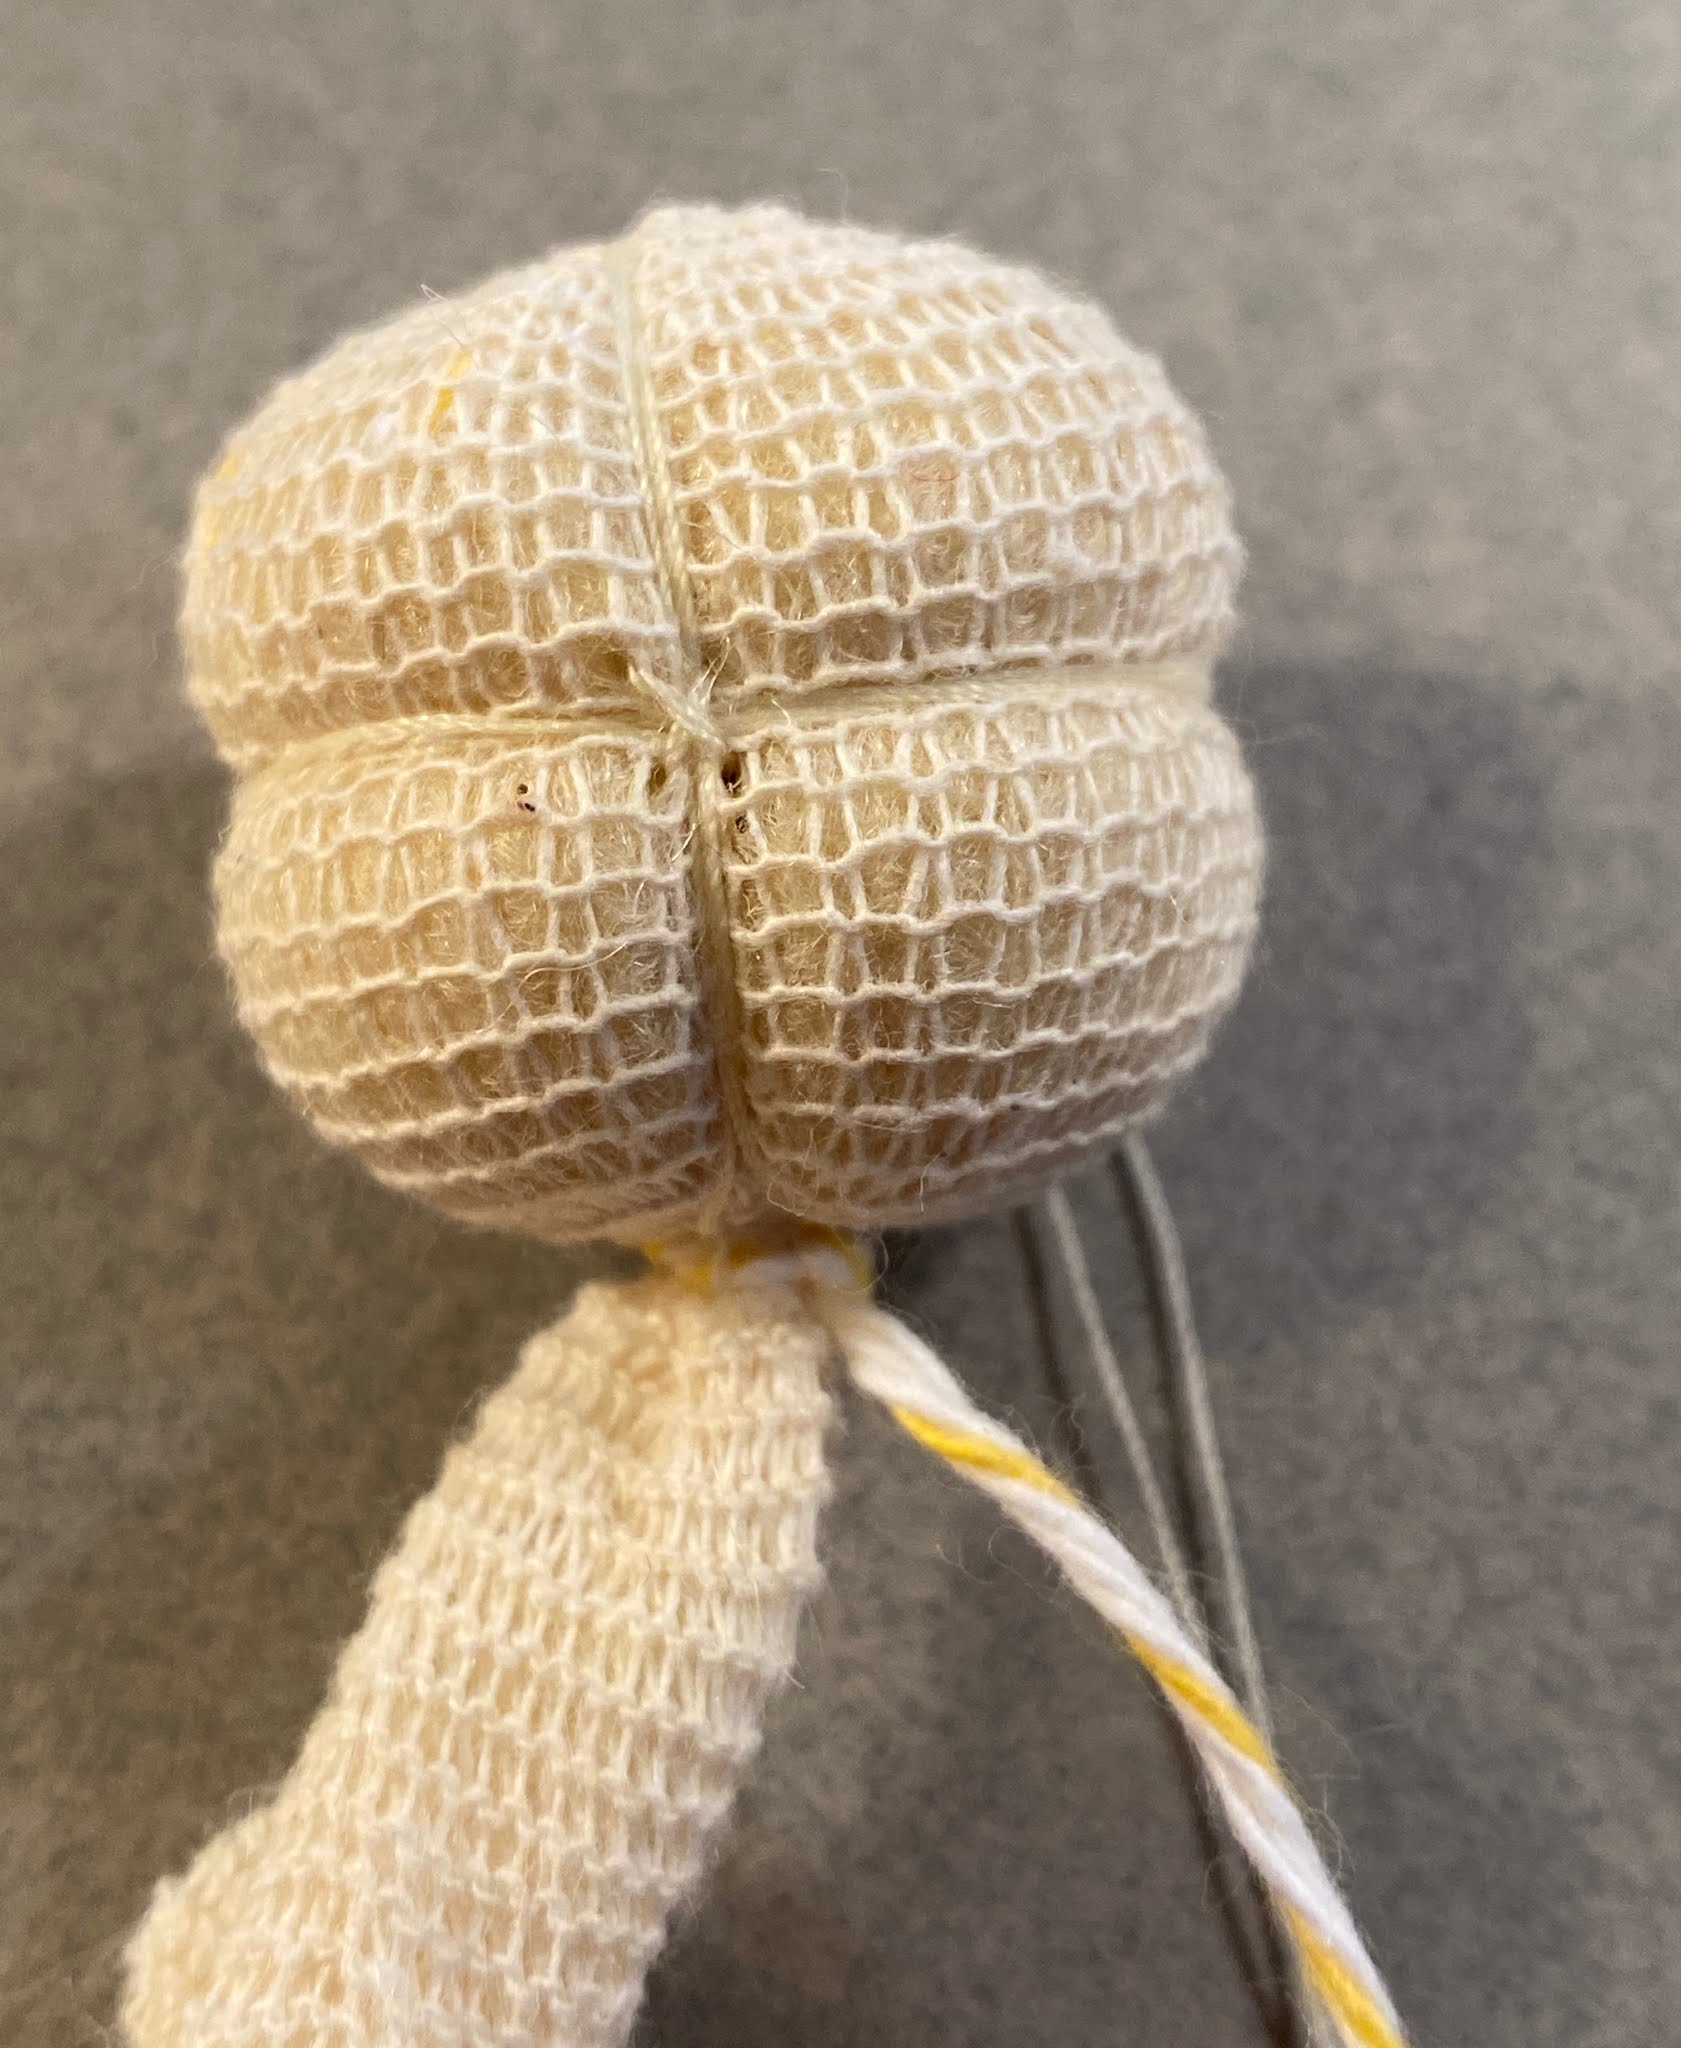
Next stuff the tube with wool. This is probably the hardest step because you will need to put a lot more wool in there than you think. Keep pushing the wool in and pulling on the open end to pack it into a small ball, about 3.5 inches in diameter, the ball should be very firm. Then you will take the longer string, wrap it around the base of the ball a couple of times, pull it very tight, and tie it off. Sometimes it helps to make the head firmer if you tie a second string above the first. It just depends on how loose the head feels.
 Now it's time to shape the head. Thread your needle and anchor your thread at the bottom of the head. Now wrap the thread a couple of times around the head from top to bottom and pull it tight. Insert the needle from the bottom of the head to the side next to the first wrap. wrap the thread from front to back a couple of times and pull tight again. This time you're going to sew over the two wraps at their crosspoint in an X to lock them down. Take the needle through the head and do the same thing on the other side and end with the needle at the back bottom of the head near the neck.


At this point you need to shimmy the back portion of the thread down to the neck to form the back of the skull. I frequently use the needle to help pull it up and down, just go carefully and take your time. You can choose now to catch that lowered thread and tie off your work OR you can make a nose. To add a nose, bring the needle and thread to the front of the face, below the eyeline thread and slightly to the left or right of the middle. sew a tiny circle or back and forth, poking up some wool as you go. You want to make a tiny bump. Then take your needle to the back of the head and tie it off.
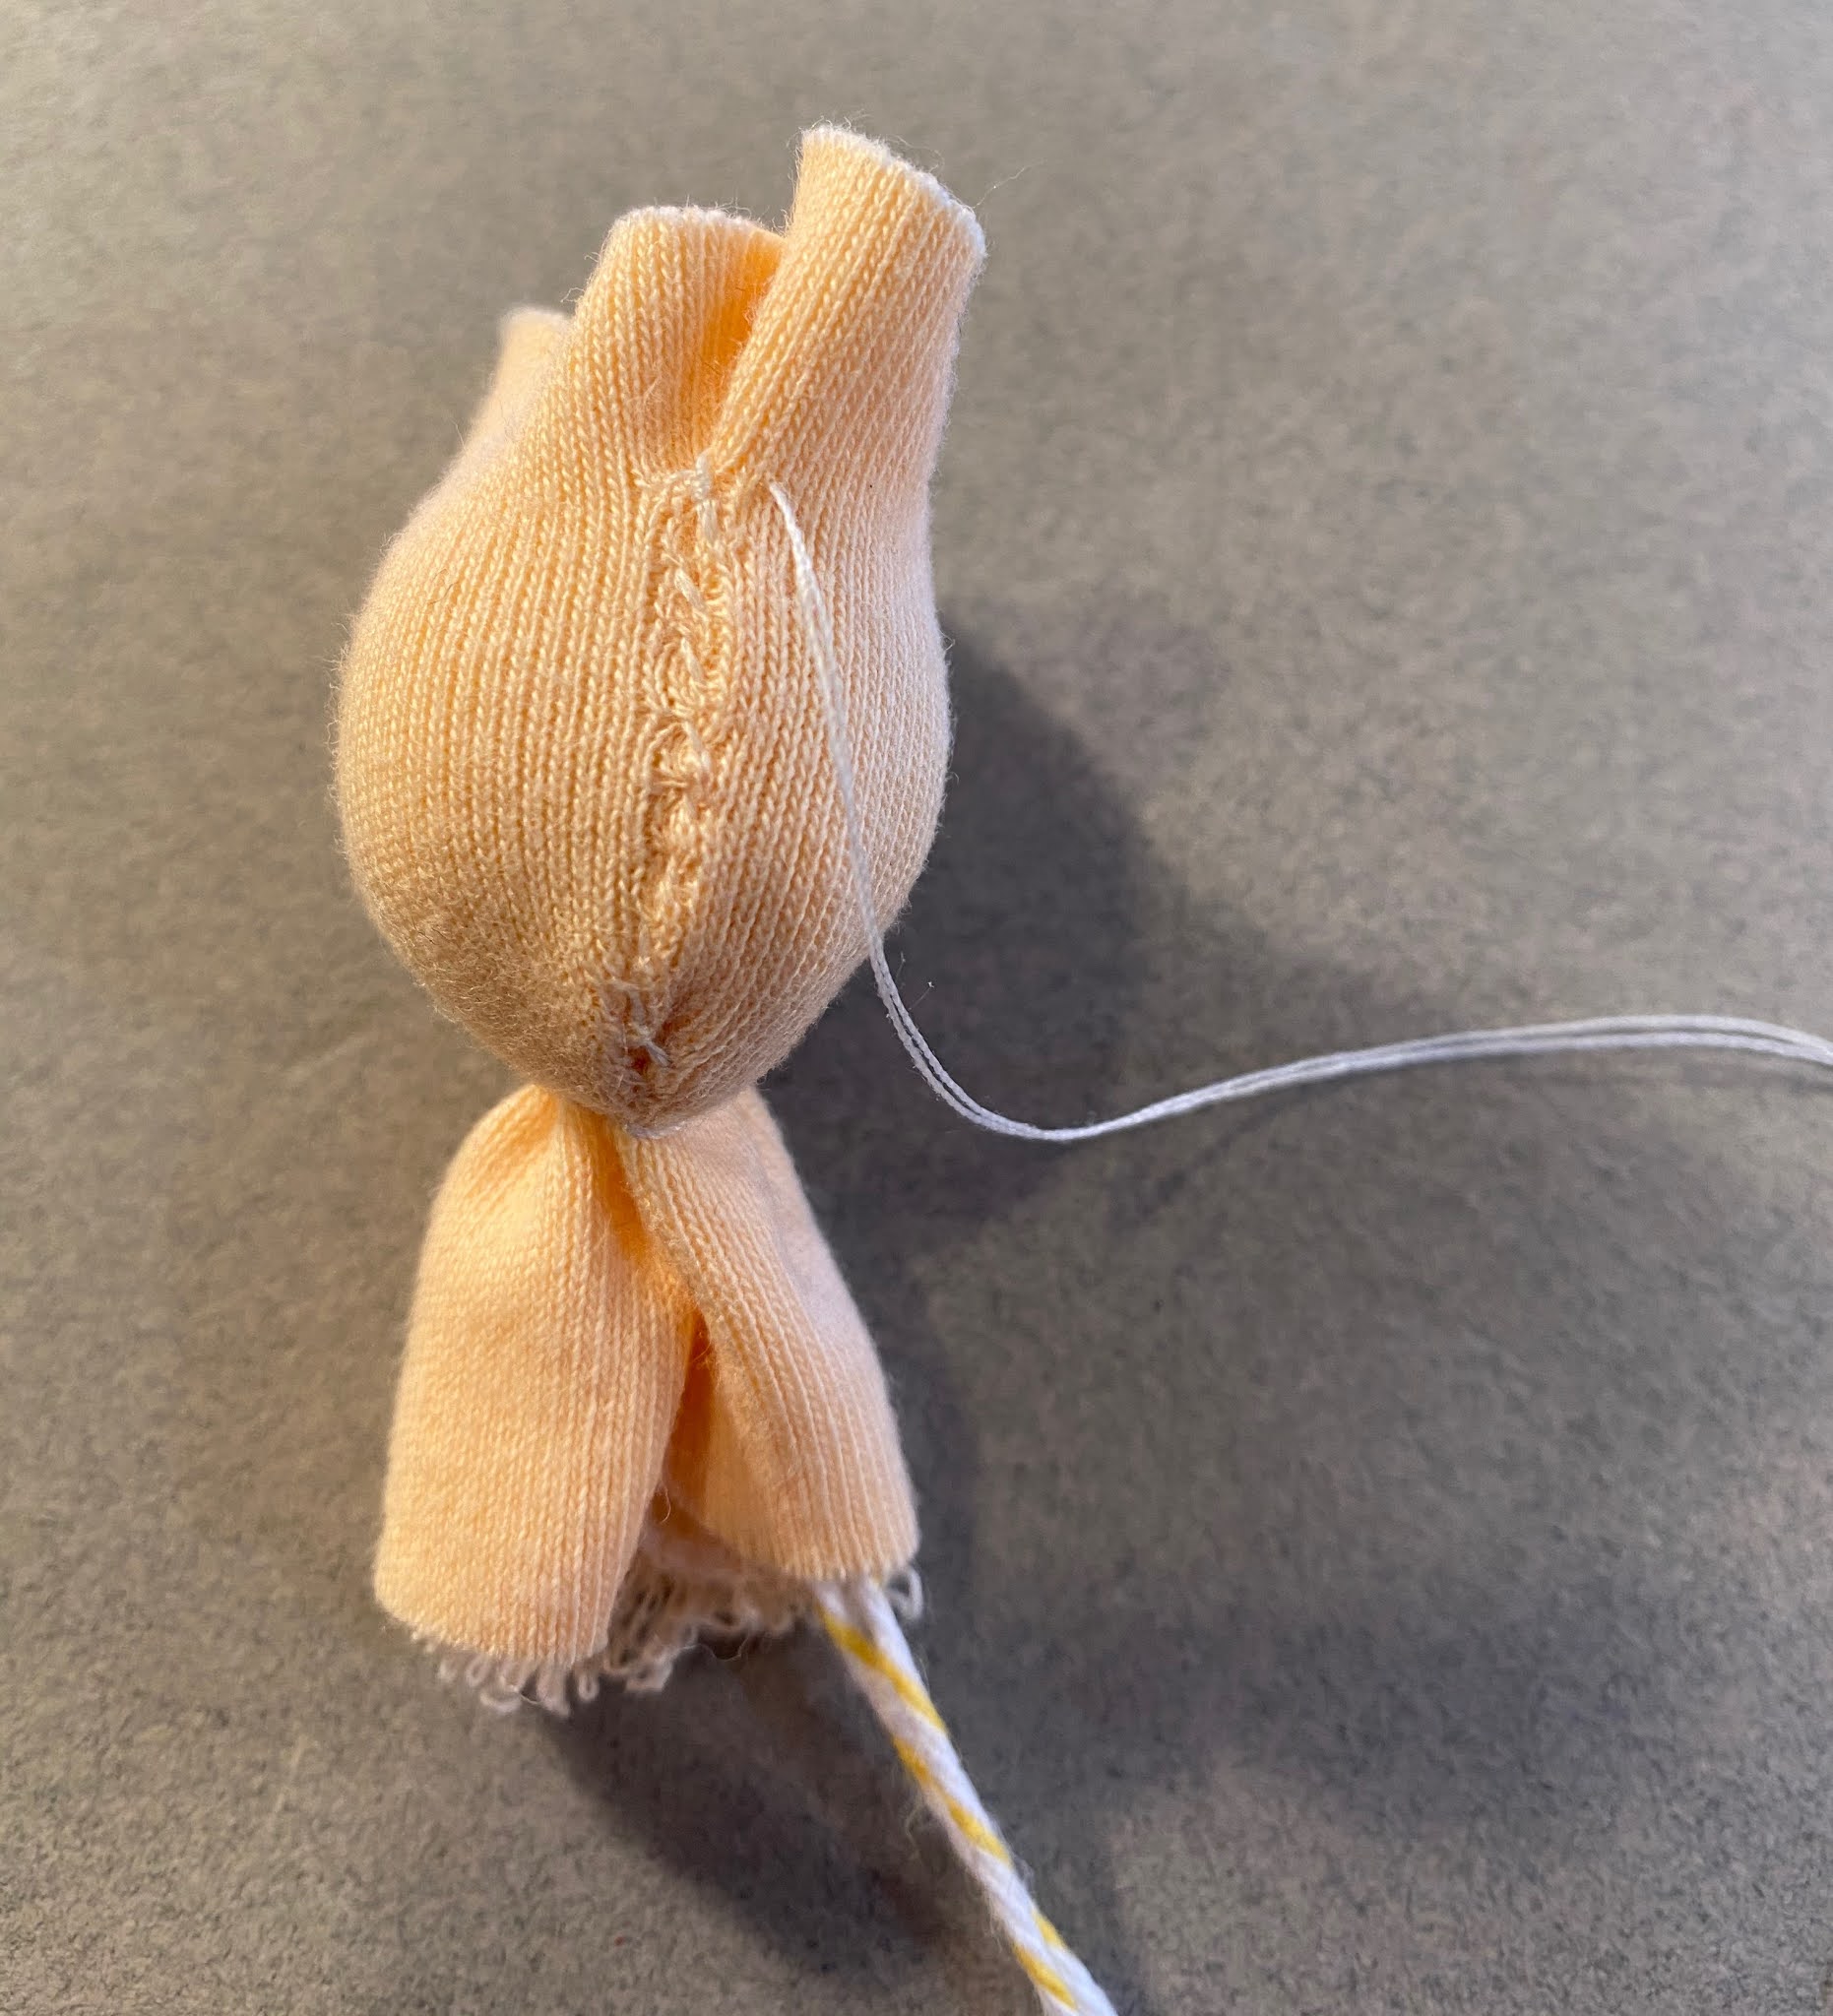
Already you have a sweet looking little head, so let's put some skin on it! Cut a rectangular piece of the cotton knit that will fit around your head. The size will depend on your finished head size but roughly 3" x 2" . Fold one side in and pin together and also put a pin in the front to keep it from slipping down the head.
Thread a needle with matching thread, anchor it at the back of the neck and wrap it around the base of the head. Make sure to pull the fabric tightly in the back and keep it smooth around the top of the wrap.
Stitch up the back of the head and then around the top of the head, pull the thread tight, and knot. Cut off any excess fabric and, if necessary, take a couple of stitches back and forth across there top to neaten things up.
Almost done!!! We just need to make some eye indentations. So mark on the front where you want your eyes with pins or pencil. Then take your needle from the back of the head to the front and then back again taking a very small stitch in the front and pull it tight so that an indentation is formed. Tie that off and do the other eye.
You did it! Look at that cutie! The only thing left is to give them a face. I use Micron Pigma pens, a white gel pen, and Prisma colored pencils for my faces these days but I used to embroider them and it really does make a very sweet and simple face. It's entirely up to you.
Part 2 of this series will have the pattern you can download and will focus on making the arms and feet. You can find that HERE .