Hi again! I hope you've made it through the first two parts without too much trouble, now on to the body!We're going to start by cutting out the pattern circle in a pretty print woven fabric. Then you fold the fabric not quite in half (this is because you want the feet to the front of the doll so she has a nice bottom to sit on) and then in half. See the photo below.
Now cut two very small slits about 3/4 inch or a thumb's length from the center fold. this will give you two perfectly spaced holes for your feet to go through.
Apply fray check all around the outside of the circle and around your two feet holes and let that dry. I do this on top of an old towel. If you're impatient, like yours truly, you can hit it with an iron to speed things up, but be sure to clean any goo off of your iron afterwards.
It's time to get the feet on! Sew a running stitch around the outside of one of the holes. Insert the foot (make sure it's all the way in!) and pull those stitches tight and then go back and forth several times around the foot sewing it securely in place. Repeat with your baby's other foot.


Now let's get that head attached. You will need TWO needles with matching thread ready for this part. First make a running stitch around the outside of your circle ending with your thread on the right side of your fabric. Pull this up slightly to form a cup. Now you want to attach the head to the bottom, this helps the baby keep a nice rounded shape, if you skip this part she'll be fine but will get a bit wonky shaped over time. Go through the lower part under the head with your second needle and then take a very small stitch in the center bottom of the fabric cup. go back up to the head and through again so you have about a 1.5 inch double thread from the head to the cup. Tie off your thread. I know this sounds confusing so I made several photos..


Time for the filler. I use a mix of dried lavender flowers and flax seeds but you can use plastic pellets, rice, whatever. I like to use all natural materials when I can and flax seeds are a nice weight. It takes about a 1/8 cup of the filler. You don't want too much or your baby will look too round so just fill and test as you go until you have a shape you like.
Pull the stitches tight and then go back and forth through the head sewing it very securely on. I like to go right into putting on the arms so I usually have a long enough thread to ensure that but it's fine if you don't.
Position your arms on either side between some of the fabric folds and pin into place. Play around with this and see where they look best to you.
You will sew the arms in place from top to bottom going back and forth through all the layers and catching the folds on both sides.
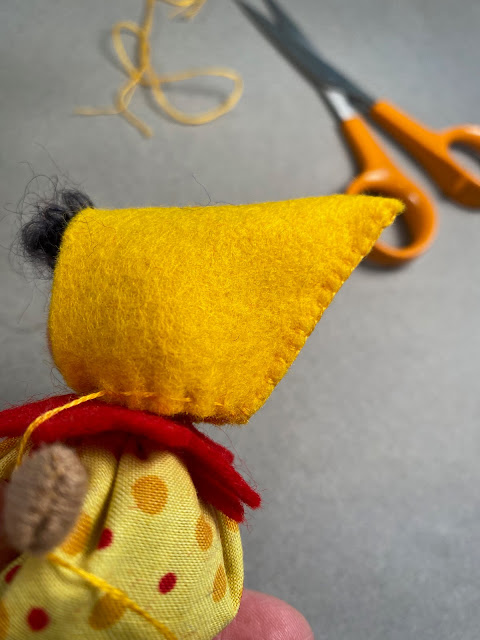
Whew...that was a long post! If any of that doesn't make sense, let me know and I'll see if I can make a video to help explain things. But hopefully it does and now you have a little lavender baby that only needs some hair, a collar, and a hat! And of course the last post will be all about that. See you soon!


.jpeg)
.jpeg)

.jpeg)


